did another DIY project on my HT the other day. bought a cinewhite screen material from the US. the material was shipped folded to reduce shipping cost. the supplier assured me that the creases will go away when installed properly.
my heart almost stopped after i unpacked the screen material. this is how it looked like out of the box.
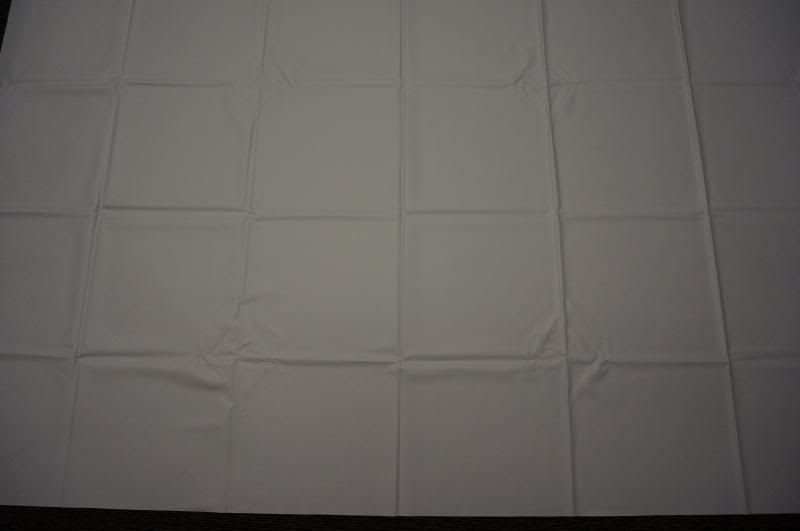
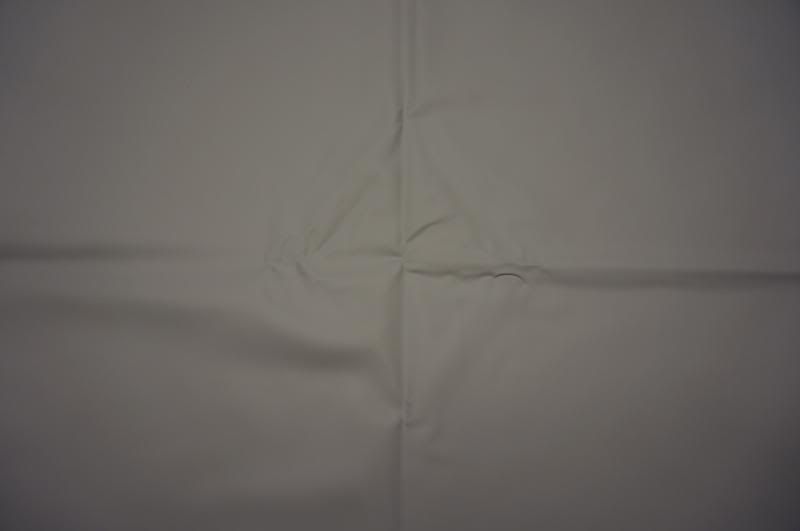
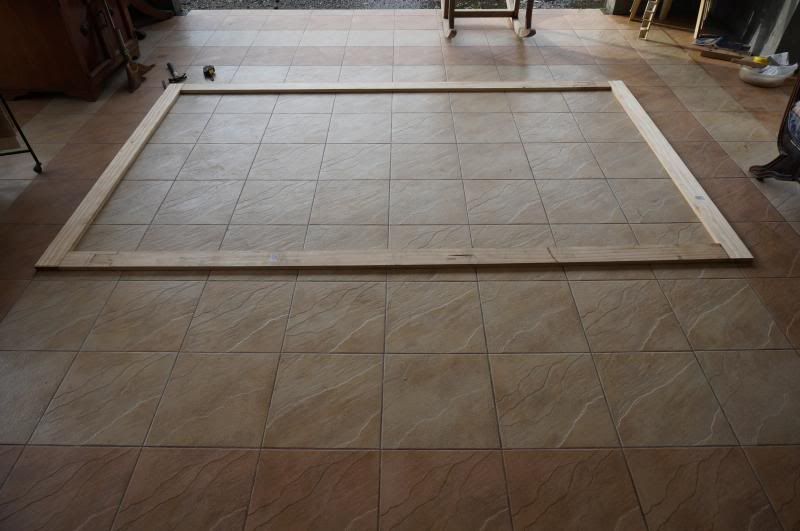
after few email exchanges with the supplier and queries from AVS forum, i proceed with the installation. bought a treated new zealand 4x1 lumber at citihardware, cost was around 1k pesos.
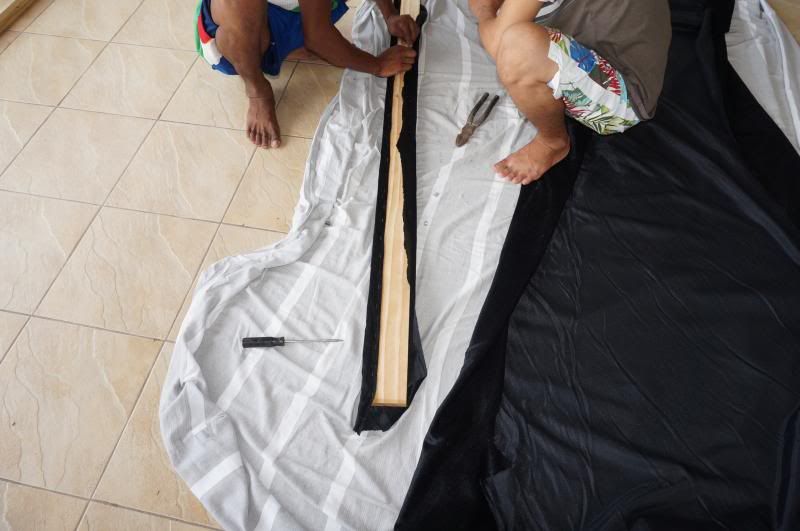
bought 2 yards of velvet at 330 pesos
frame assembly
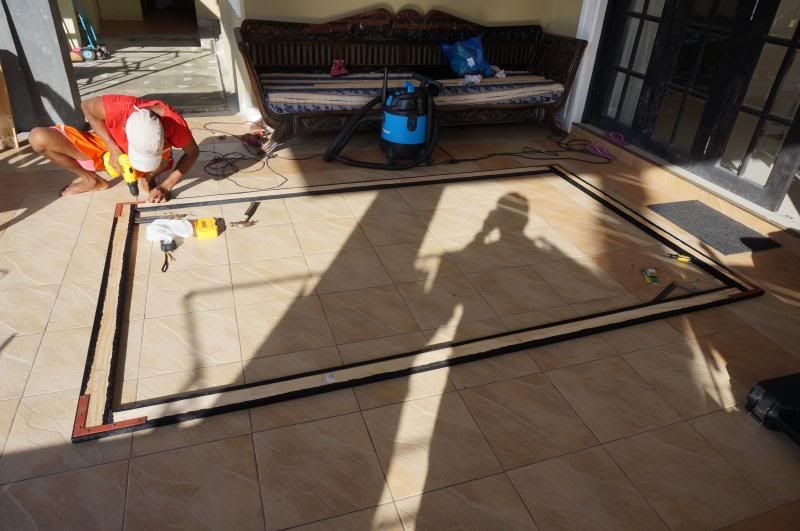
screen material installation. the material was big enough to build a 150" screen. so, cut to resize to 116".
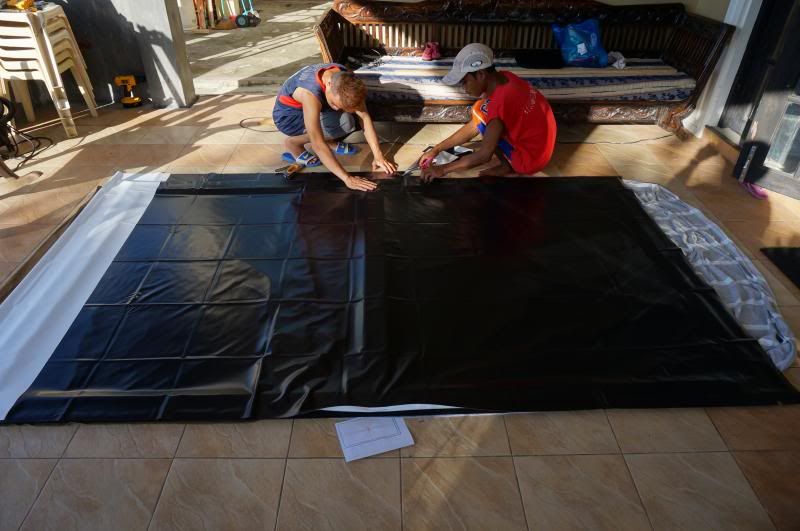
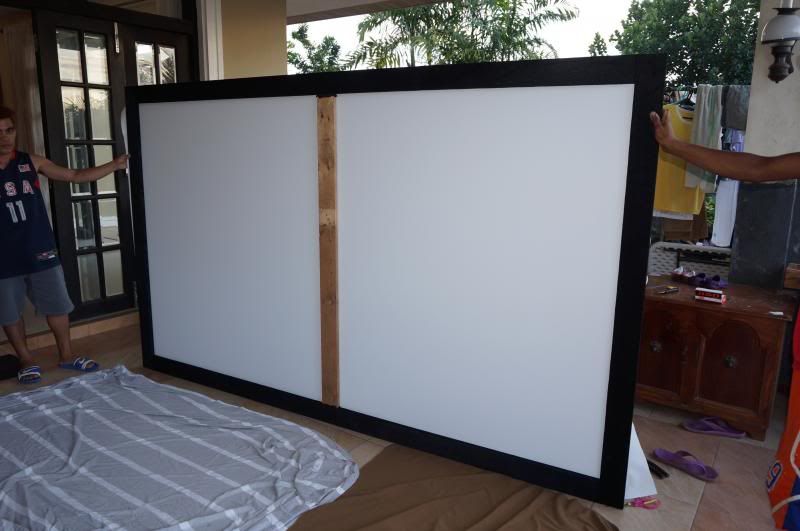
stretching and stapling evenly following the procedure by the numbers

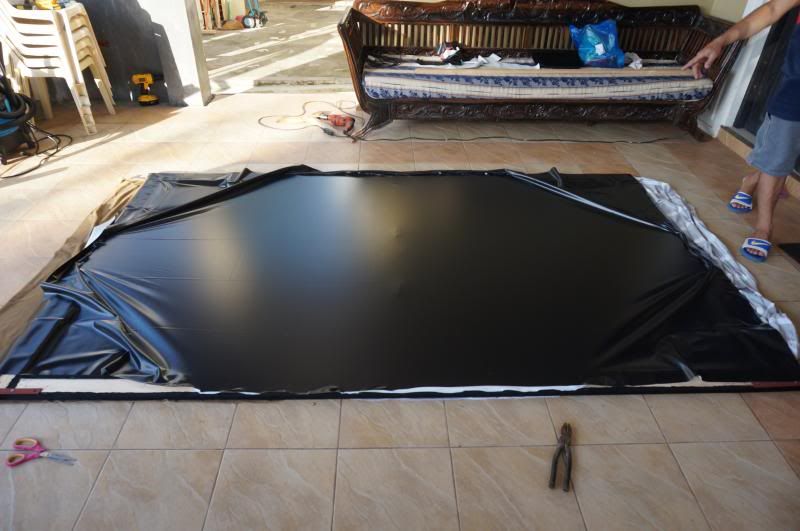

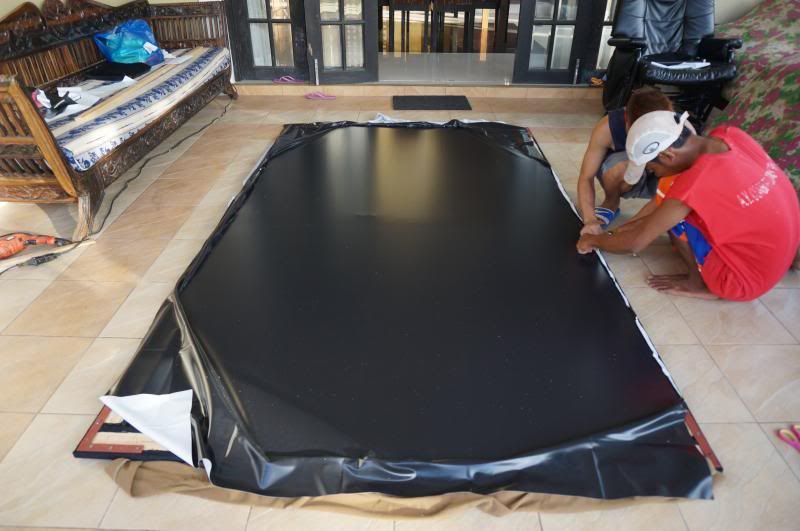
done stapling, the creases were totally invisible after proper tension was applied to the material. the wooden plank in the middle is a temporary brace to prevent the frame from buckling during stretching of the screen material.

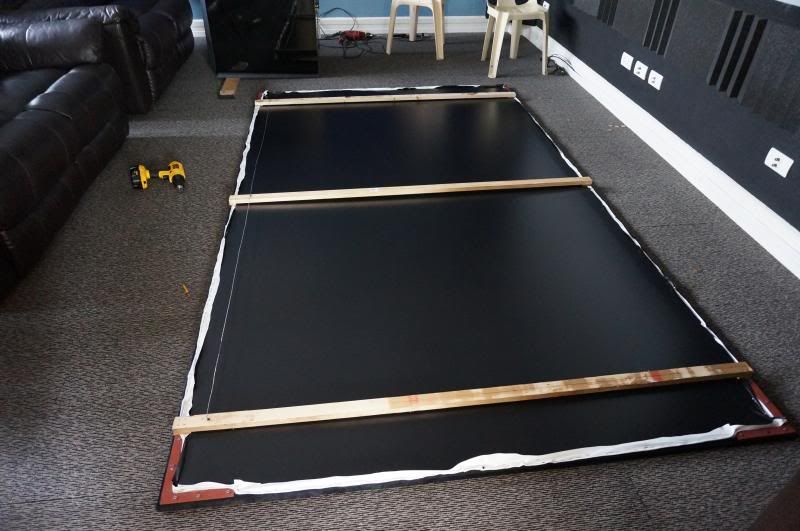
added braces on the backside
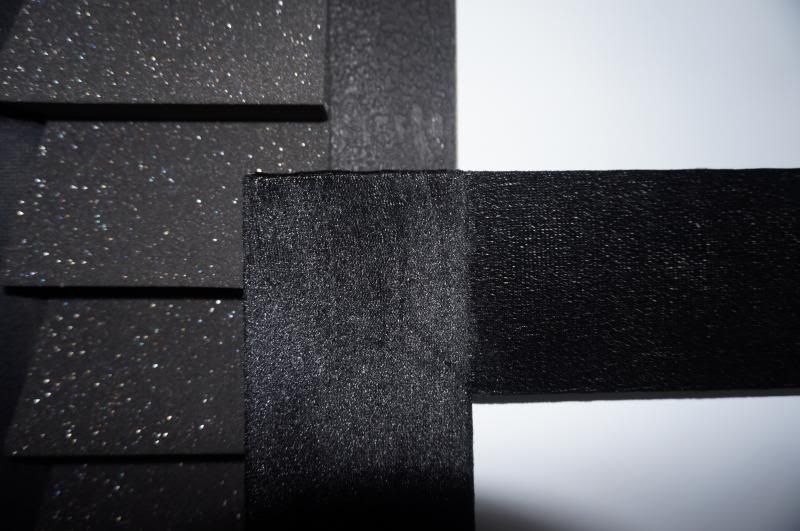
closer look of the 3.5" border with velvet cover
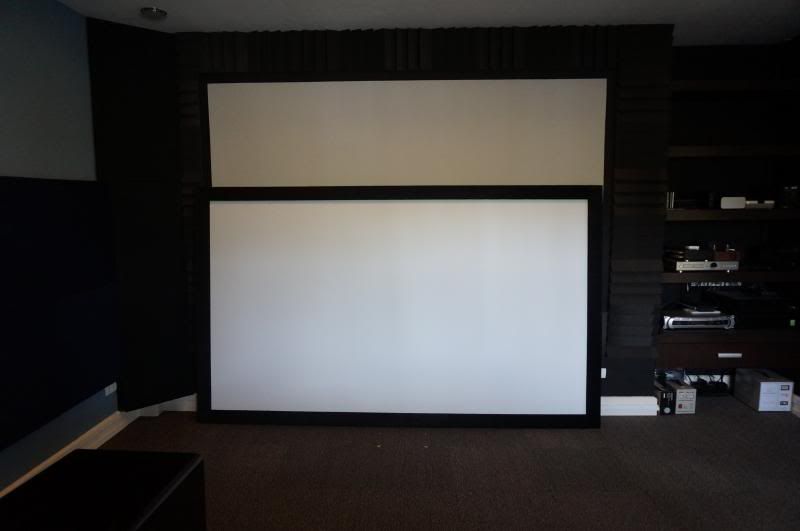
the new 116" screen against my DIY 120" gray-painted plywood screen
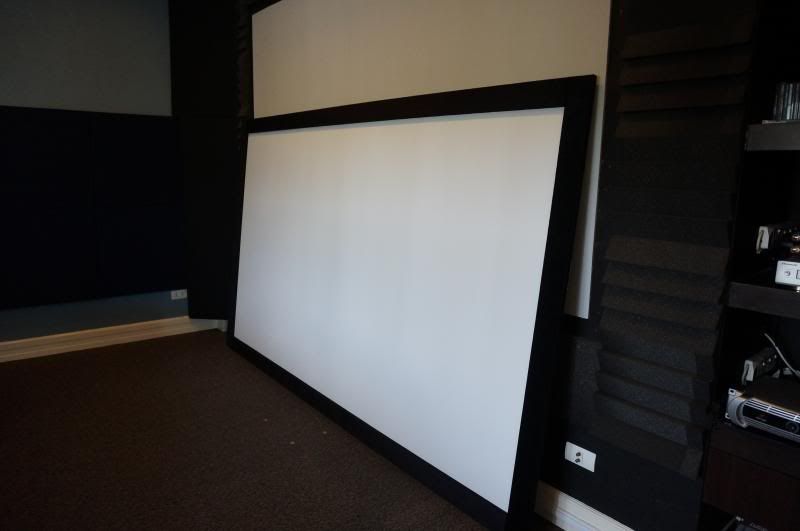
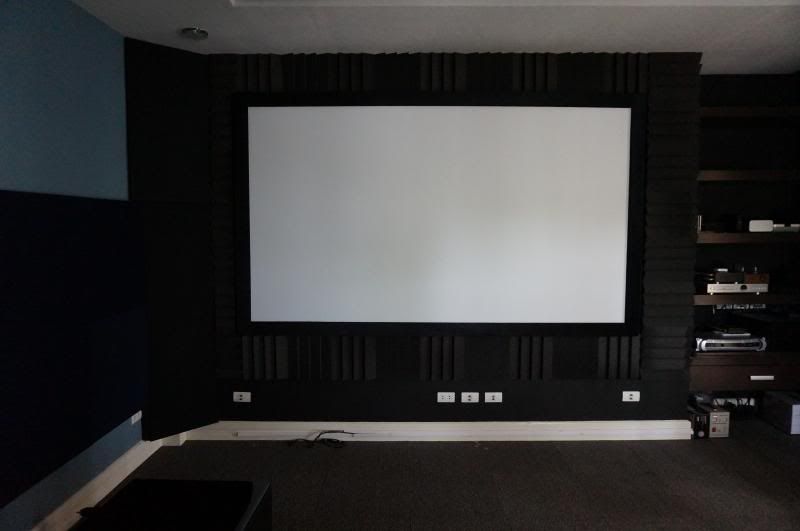
screenshots
back windows OPEN
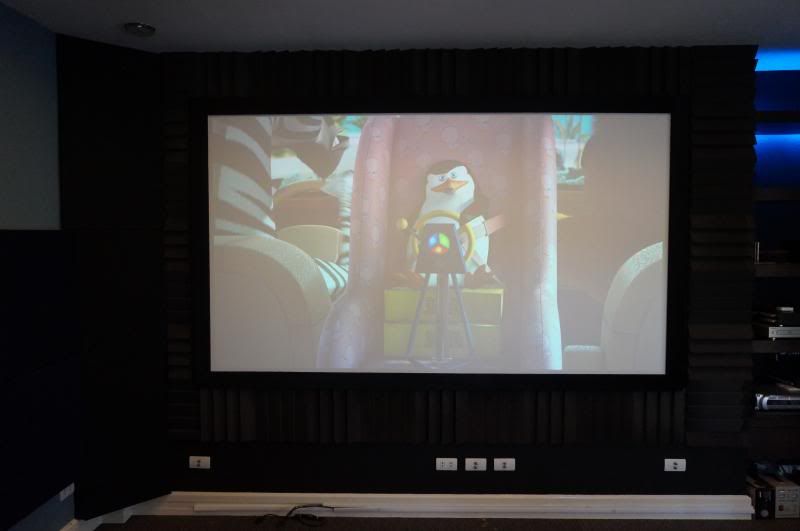
concealed lights ON
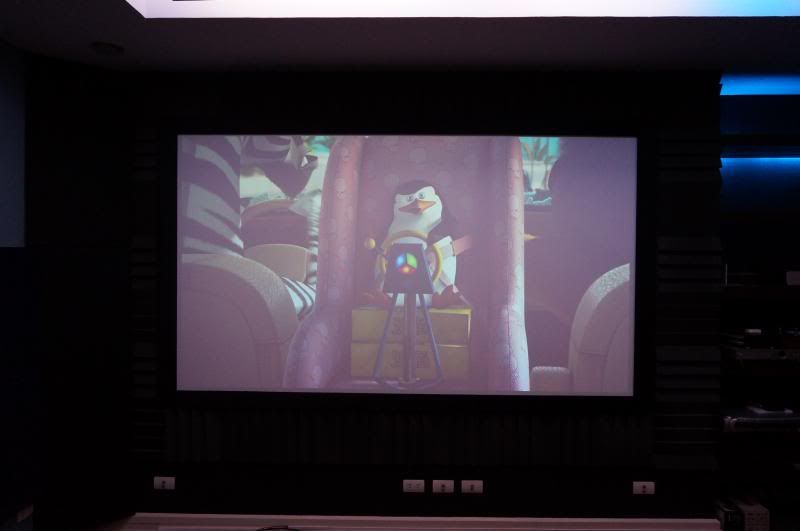
dimmer lights ON
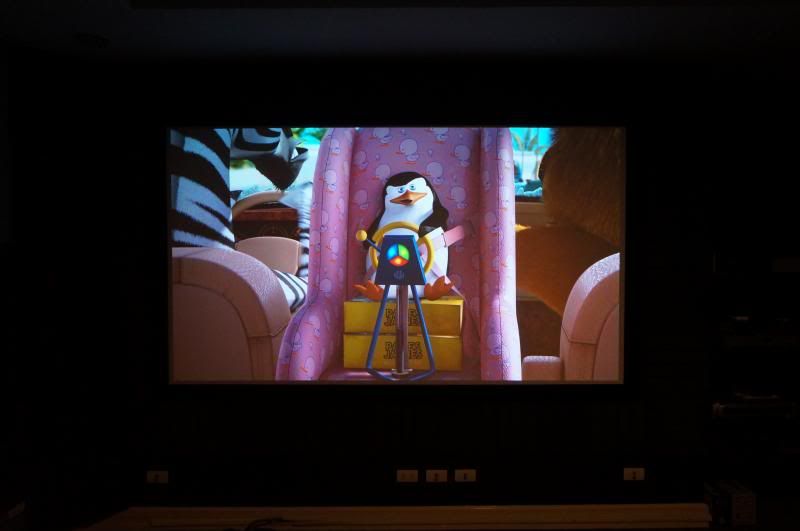
lights OFF
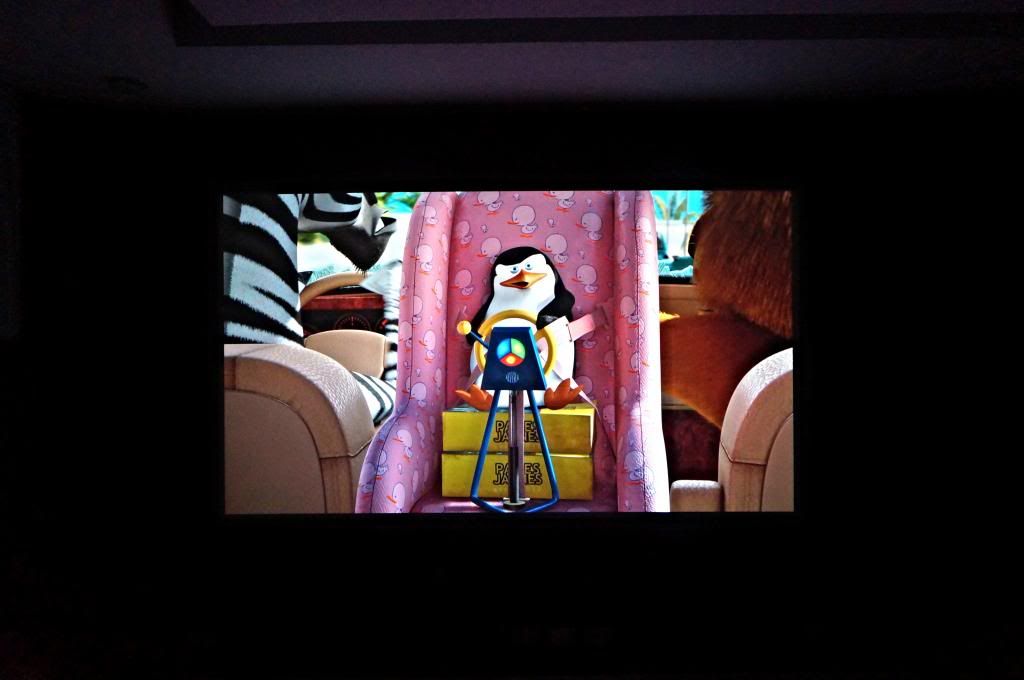
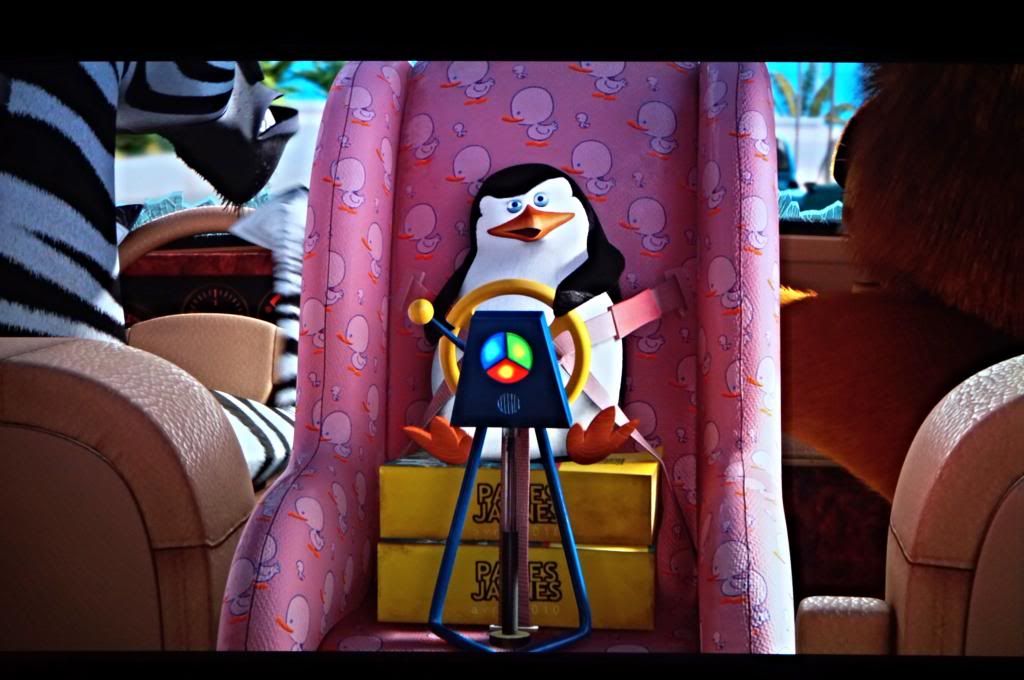
during my brief comparison, the black is not as deep as the painted gray screen but almost similar though when viewing at seating position. the comparison in blacks was visible a few inches away from the screen. did this with a cut-out flexi white screen placed side-by-side on the gray screen. OTOH, the whites had improved a lot which made the pic quality stand out. 3D viewing is now brighter than what it used to be. not bad for a day carpentry work.
these babies were put on hold due to the late delivery of the MDF boards ordered from cebu. they will get their proper houses on my next days off, 28 days from now.
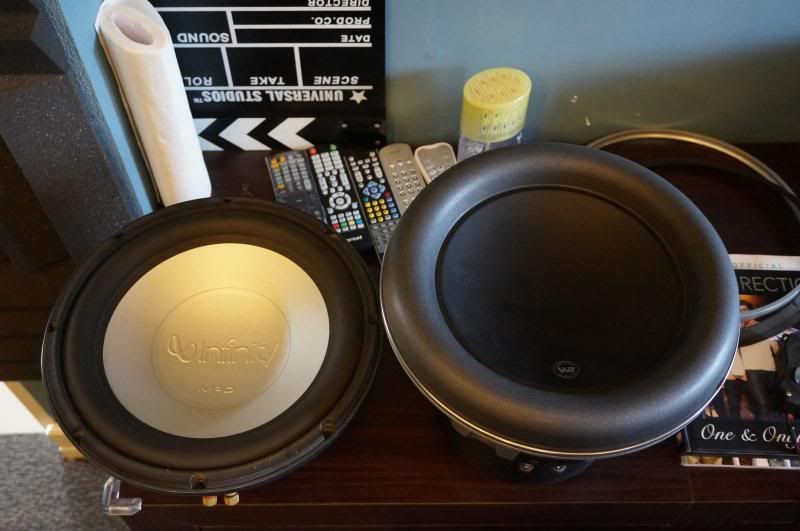
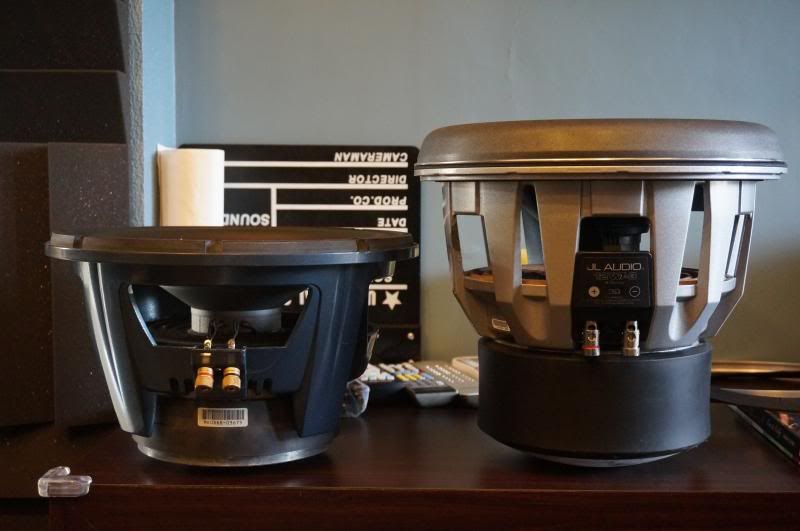
so, standby muna mga peeps coz i'm away from home, earning a living to support my kaprichus
